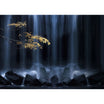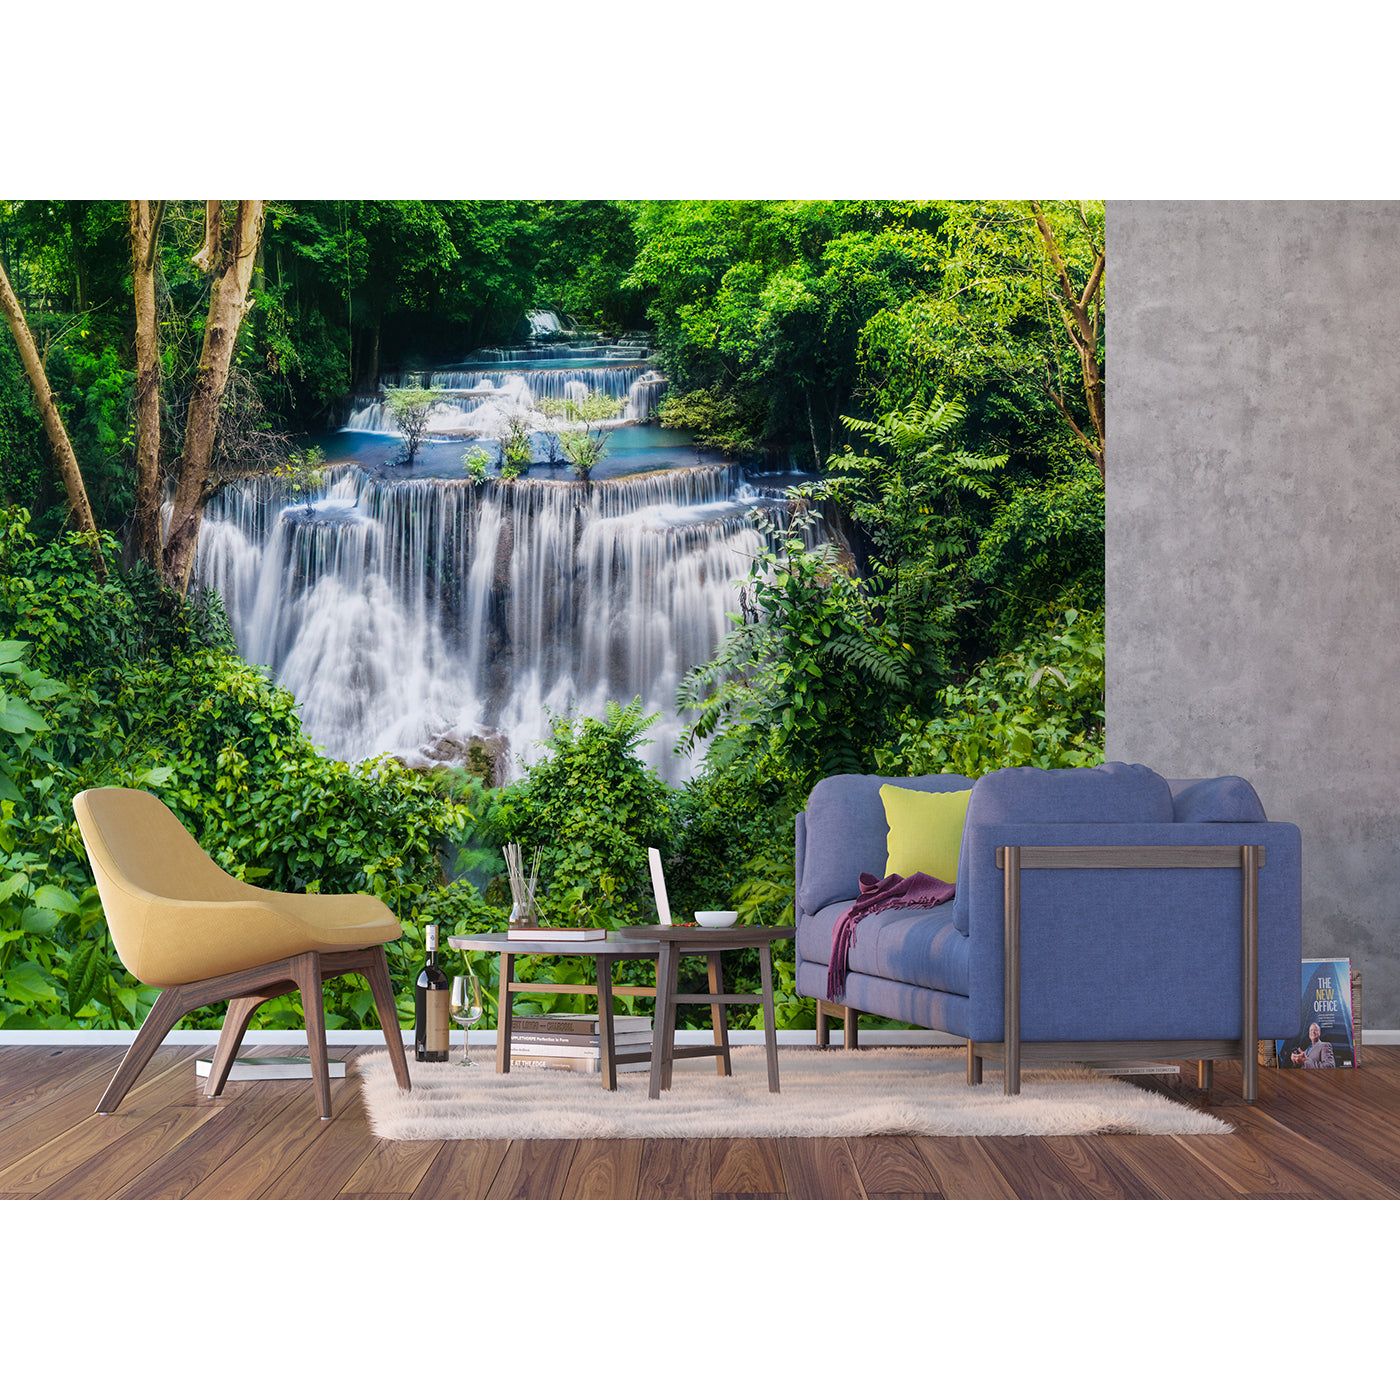
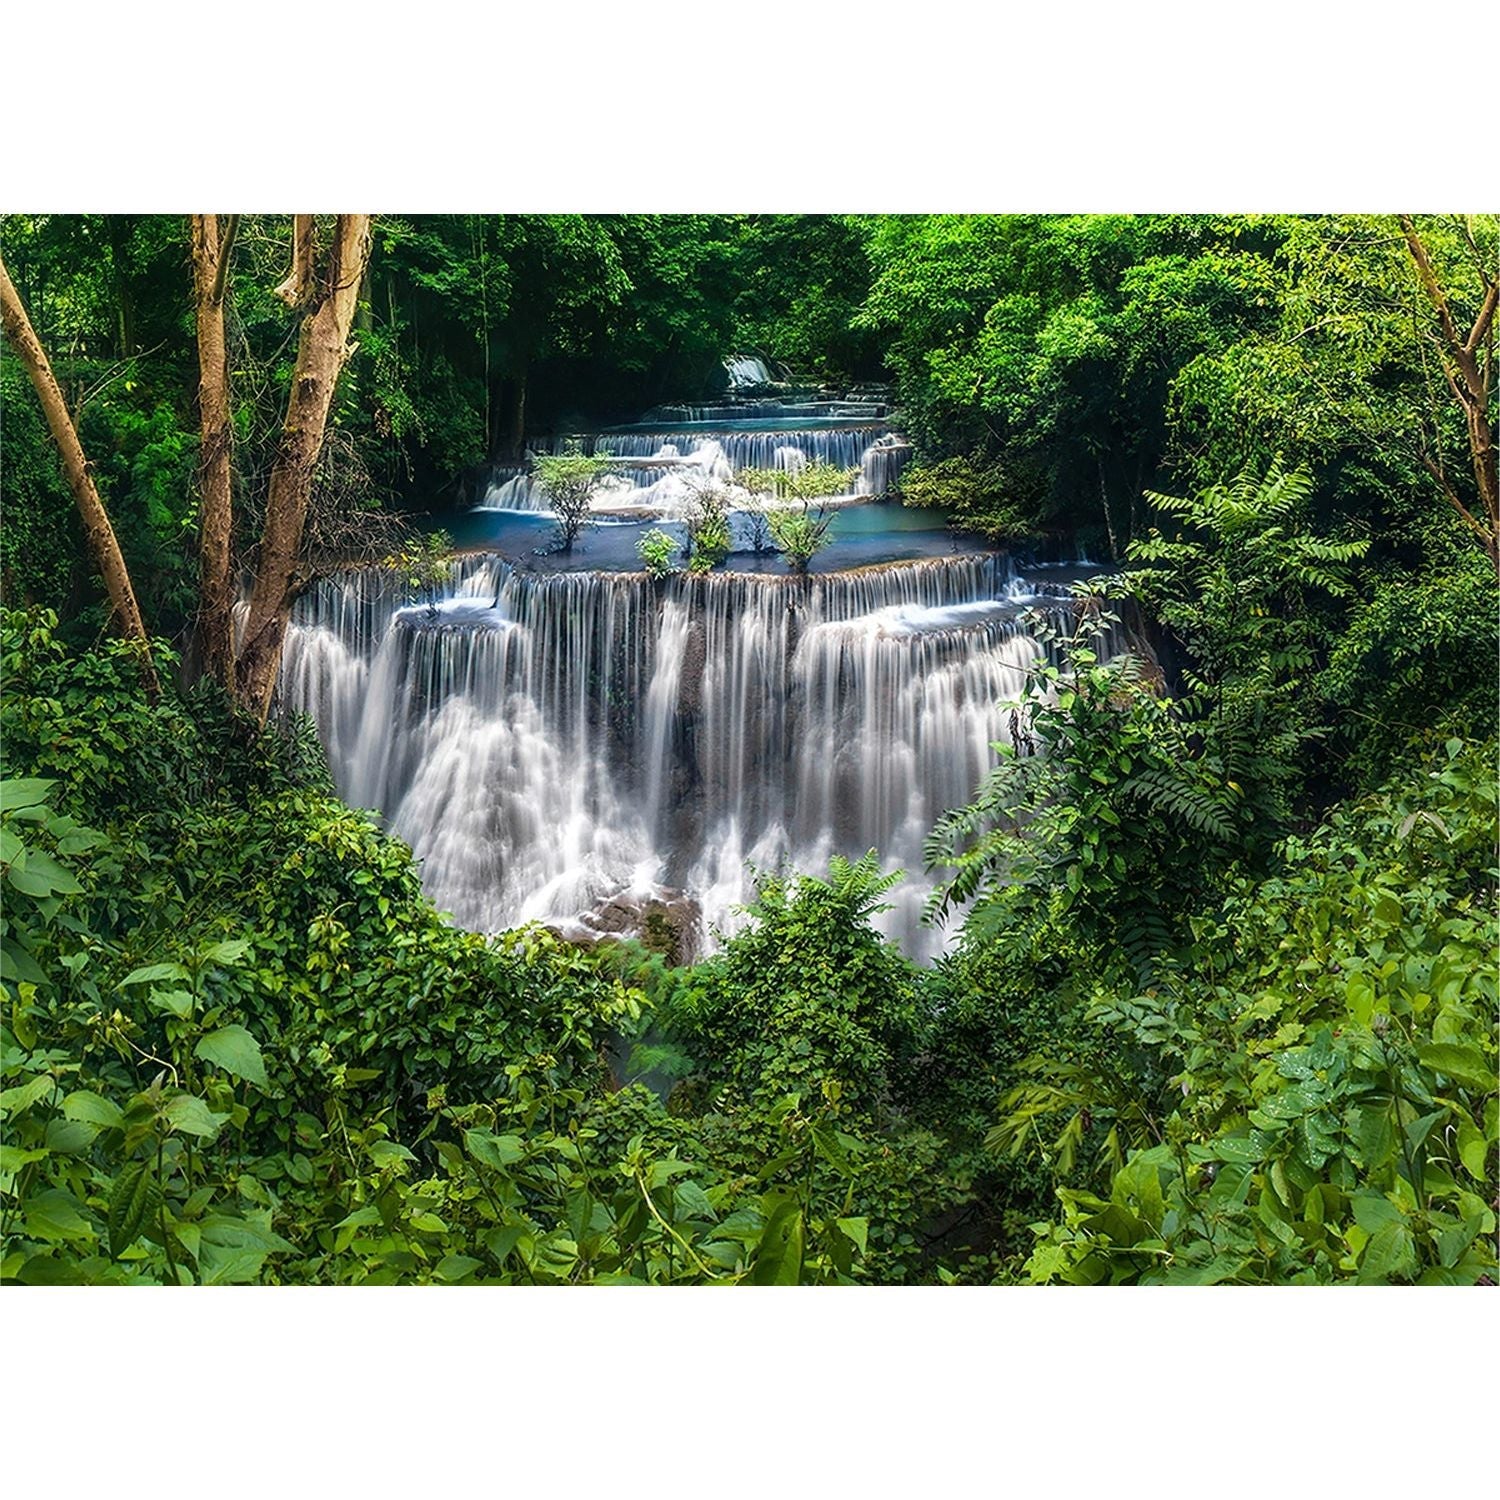
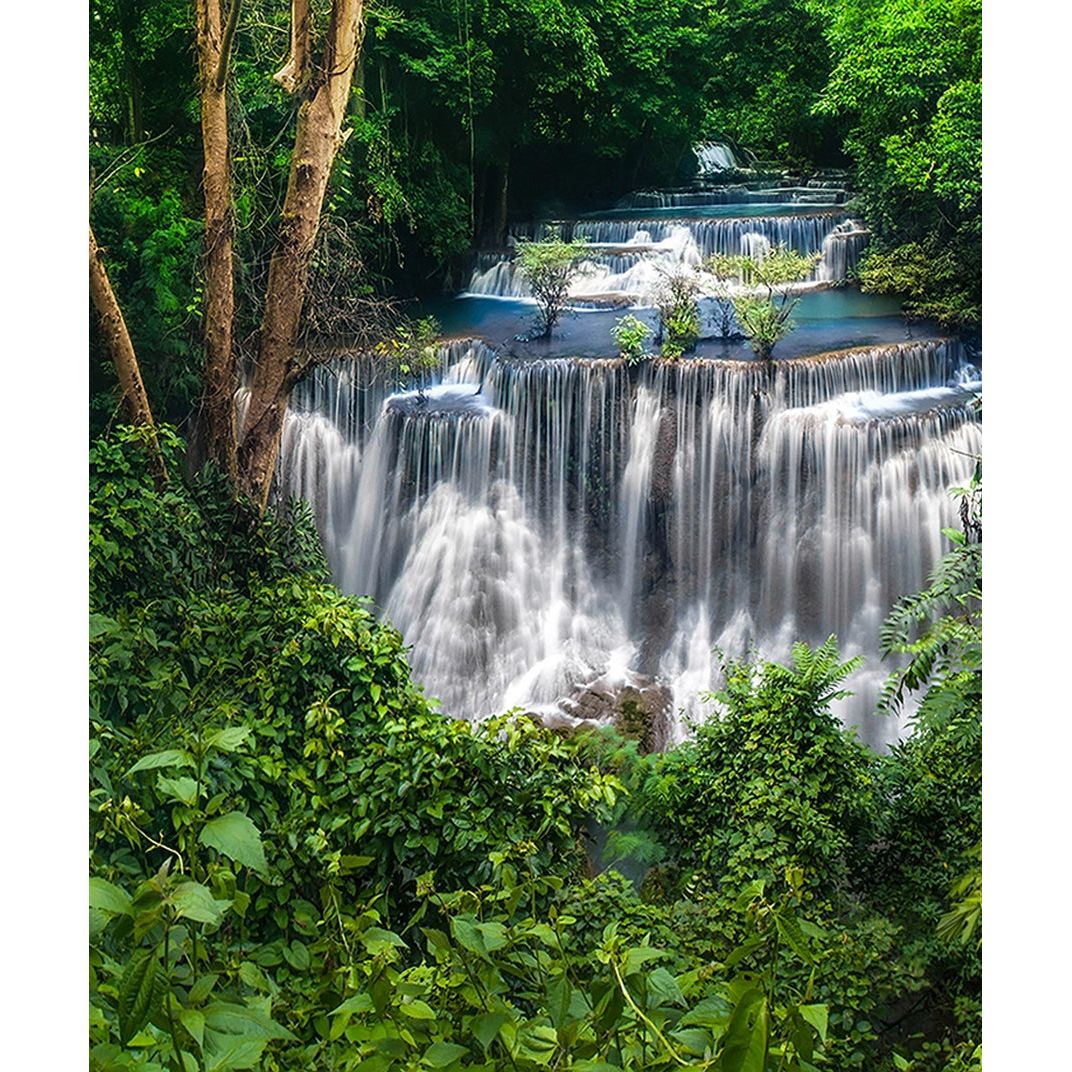
Lush Cascades: Forest Waterfall Wall Mural
Description
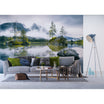
Immerse yourself in the tranquil beauty of nature with our "Verdant Falls" wall mural. This stunning visual piece brings the serene ambiance of a lush, green forest and a cascading waterfall right into your space. Hear the water's soothing melody and feel the cool mist as this mural turns any wall into a picturesque natural retreat. Ideal for creating a calming atmosphere in your home or office, this wall mural is a window to the untamed elegance of the wilderness. Shop this wall mural today to bring the outdoors inside!
W: 35.43in x H: 106.3in is W: 90cm x H: 270cm.
W: 62.99in x H: 43.31in is W: 160cm x H: 110cm.
W:88.58in x H:106.3in is W:225cm X H:270cm
W:118.11in x H:106.3in is W:300cm X H:270cm
Included:
- Self adhesive glue
- Non- woven
- Digital print
Installation Instructions
Ensure the wall is smooth, clean, and dry.
Remove any nails, screws, or dust. Sand down any rough surfaces.
Mixing Paste:
Follow the instructions on the paste package.
Mix the paste until it reaches a smooth consistency.
Installation:
Checking Panels:
Lay out all wallpaper panels on the floor.
Ensure the pattern matches and check for defects.
Applying Paste:
Use a roller or brush to apply a thin, even layer of paste directly onto the wall.
Start from the top and work your way down, covering a section slightly wider than the wallpaper panel.
Hanging Panels:
Begin from the left side of the wall and move right.
Align the first panel at the top and smooth it down from the center outwards to remove air bubbles.
Continue with the next panels, ensuring they align edge to edge without overlapping.
Trimming Excess:
Once all panels are hung, use a sharp knife to trim any excess wallpaper at the top, bottom, and sides.
Final Steps:
Drying Time:
Allow the wallpaper to dry for 24 hours.
Avoid touching or pressing on the wallpaper during this time.
Finishing Touches:
Inspect for any air bubbles or edges lifting and smooth them out if necessary.
How to Measure Your Wall
- Measure the Width and Height:
Use a measuring tape to measure the full width and height of the wall. Measure at multiple points along the wall to account for any irregularities.
Add an extra 5 cm (2 inches) to both the width and height measurements. This extra margin will allow for trimming and adjustments during installation - Sloped Walls:
For walls with sloped ceilings or floors, measure the highest and widest points of the wall.
It's important to capture the maximum dimensions to ensure the mural will cover the entire wall, even at its tallest and widest points. - Walls with Obstacles:
Measure the entire wall as if there were no obstacles like doors, windows, or built-in furniture.
You will cut around these obstacles during installation, so it's crucial to have enough mural material to work with.
For windows and doors, measure to the edges and add the extra margin as previously mentioned. - Multiple Walls:
When installing a mural on multiple adjoining walls, measure each wall separately.
Combine the widths of all walls and add 5 cm for each wall to ensure enough material for proper alignment and trimming. - Irregular Shapes:
For walls with irregular shapes, break down the wall into smaller, more manageable sections and measure each section separately.
Combine the measurements, ensuring to add the extra margin for trimming. - Confirm Measurements:
Double-check all measurements to ensure accuracy.
Consider drawing a rough sketch of the wall with the measurements to help visualize the layout and to double-check the number

